
Secure Access in Windows (Manual Configuration) This guide helps you configure iTeleport with encryption, for secure access to your Windows PC. Before you start, make sure you meet the following requirements:
- You have successfully configured and connected to your computer using iTeleport
Here's what you need to do to add secure connectivity:
-
The first step is to download and configure an SSH server. In this guide, you'll learn how to use FreeSSHd, though you can use any SSH server you like.
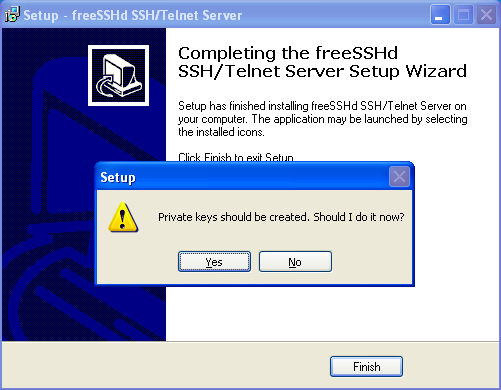
Download FreeSSHd and run the installer. Click through all the screens, selecting the default options. Once it's installed, you should get the following question for private keys, to which you should say Yes.
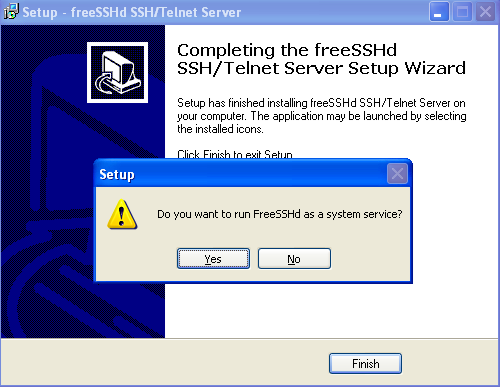
You will also be asked whether to install it as a service. Choose Yes.
-
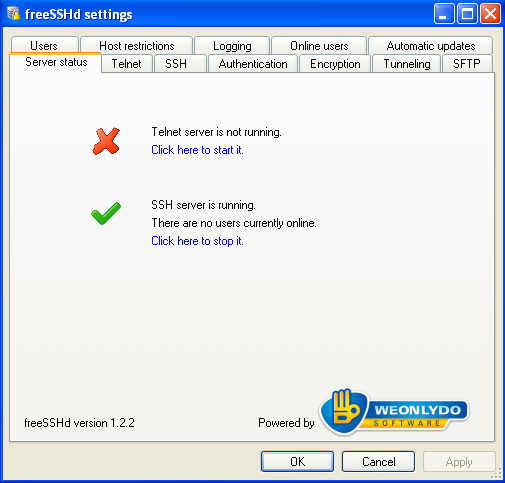
Once that's done, FreeSSHd is running and has an icon  in your statusbar. Click on it to bring up FreeSSHd's settings: in your statusbar. Click on it to bring up FreeSSHd's settings:
-
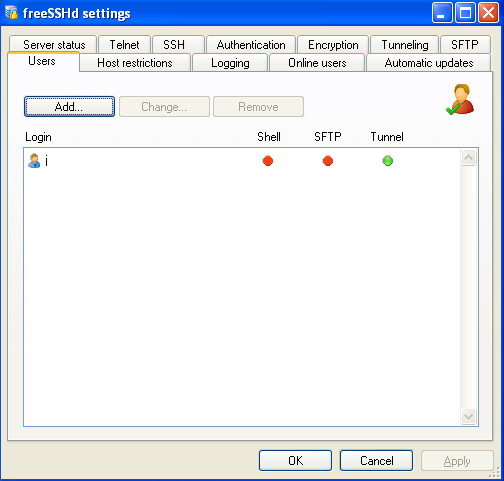
Add a user in FreeSSHd's settings. Click the Users tab, then click the Add button:
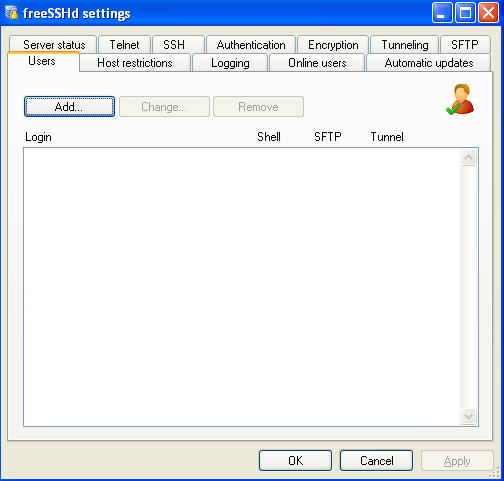
- Enter a login username, set the Authorization to Password stored as SHA1 hash, and then enter a secure password. Enable only the Tunneling option. Click OK.
 . .
-
You should now see this:
-
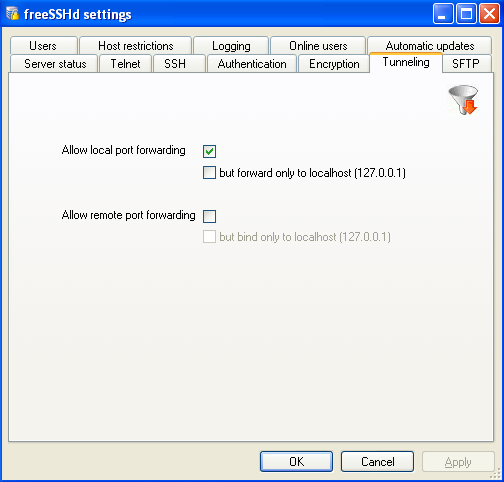
Click on the Tunneling tab and enable the Allow local port forwarding option. Click OK:
-
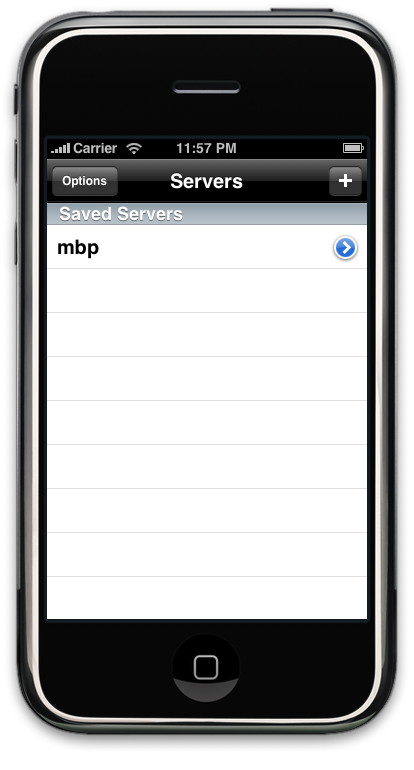
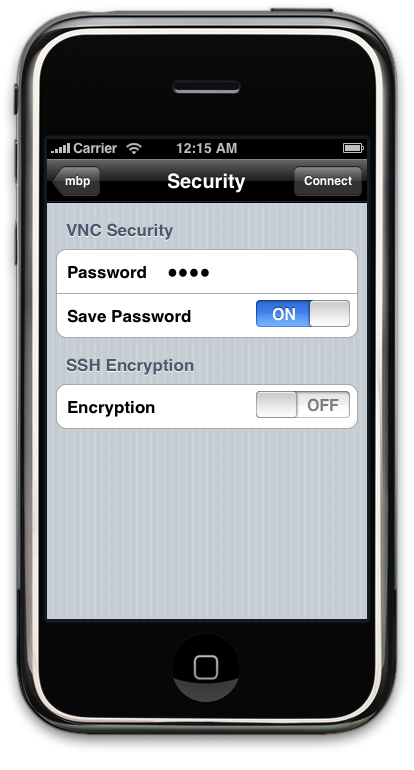
On your iPhone, launch iTeleport, then tap the blue arrow, then Security:
-
Enable encryption, and then type in the username and password you entered in FreeSSHd, and leave Host blank:
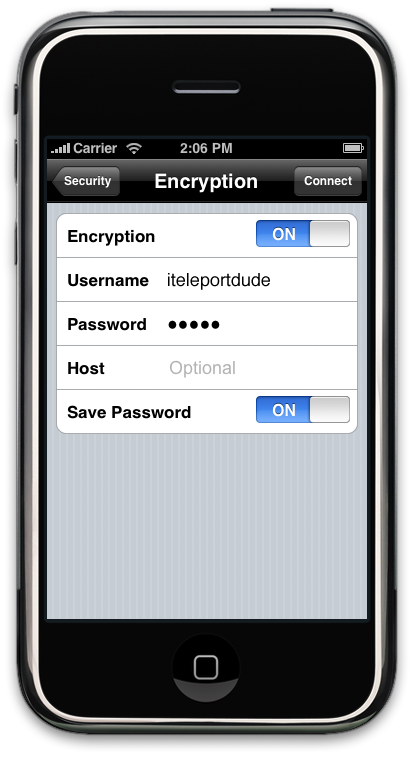
- Now tap Connect. This should work straight away on the local network. For remote access, you will need to use the manual setup guide, except that in the port forwarding step, instead of forwarding port 5900 on the router (which is the VNC port), forward port 22 (which is the Remote Login port).
- If you get an error saying Loopback Connections are disabled, go to your VNC server (TightVNC, UltraVNC or RealVNC) settings on your Windows PC, and enable the option to Allow Loopback Connections.
|